Staining and varnishing wood is a great way to bring life to your furniture and home. It protects the wood and makes it look beautiful. This guide will show you how to do it right, step by step.
If you’re considering a professional finish for your wood projects, you might want to explore expert services that can provide high-quality results.
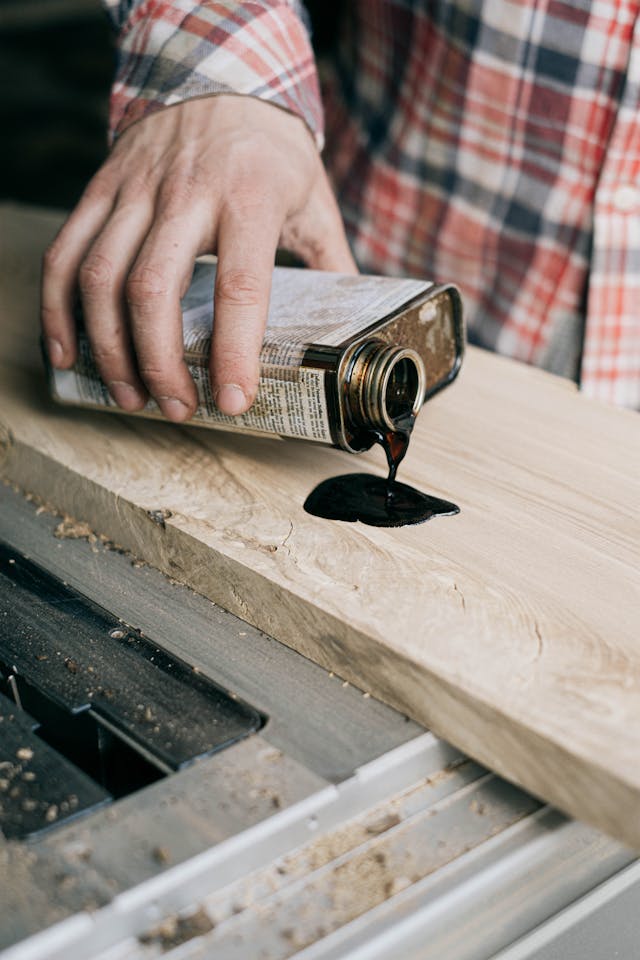
Staining is the process of adding colour to wood. It helps to bring out the natural beauty of the wood grain. Stains can be oil-based or water-based. Oil-based stains offer rich colour but take longer to dry. Water-based stains dry fast and are easy to clean up.
Staining wood serves a few purposes. First, it makes the wood look nice. It can change the colour to match your style. Second, stain can protect the wood. It helps to resist moisture and dirt. This is important, especially in a place like Ottawa where humidity can change throughout the seasons.
| Type of Stain | Drying Time | Application Method | Cleanup Method |
|---|---|---|---|
| Oil-based | 6-8 hours | Brush or Cloth | Paint Thinner |
| Water-based | 1-2 hours | Brush or Cloth | Soap and Water |
| Gel Stain | 2-4 hours | Brush or Rag | Mineral Spirits |
Varnishing is the next step after staining. It is like a protective coat for the wood. Varnish can be glossy, satin, or matte. Where you use varnish matters, too. For example, you might want a glossy finish for a dining table but a matte finish for a rustic shelf.
There are many reasons to varnish wood. Varnish protects against scratches and wear. It also shields wood from water and sunlight. This is important in Ottawa, where sunlight can fade colours over time.
Before starting, gather your tools. You will need:
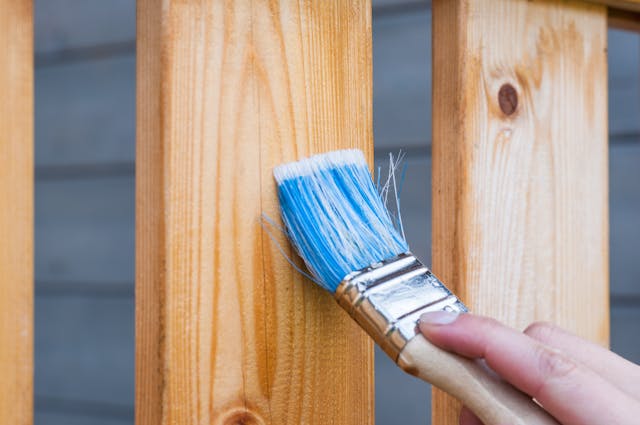
Using the right brush is crucial. A good brush will help you apply stain and varnish evenly. Foam brushes work well for varnish, while natural bristle brushes are great for stain.
Preparation is key to a good finish. Start with clean, dry wood. Remove any dust or dirt. If the wood is old, you may need to sand it. Sanding will help the stain and varnish stick better.
When sanding, use different grits. Start with coarse sandpaper, then move to finer grits. Always sand in the direction of the wood grain. This will leave a smooth surface and avoid scratches.
Now it’s time to apply the stain. Follow these steps:
Let the stain dry completely. This can take a few hours, depending on the product. Check the instructions on the can for specific drying times.
Once the stain is dry, it’s time for varnish. Here’s how to do it:
You may want to apply more than one coat of varnish. Wait for the first coat to dry. Lightly sand the surface with fine sandpaper between coats. This helps the next coat stick better. Repeat this process until you are satisfied with the finish.

While staining and varnishing is fun, some mistakes can happen. Here are some common ones:
After all this work, you want your wood to last. Here are some care tips:
| Care Tip | Description | Frequency |
|---|---|---|
| Dusting | Use a soft cloth to dust surfaces | Weekly |
| Cleaning | Mild soap and water for spills | As needed |
| Temperature Control | Maintain stable humidity and temperature | Ongoing |
If you need assistance with your project, consider reaching out to professional finishing services that specialize in wood care and restoration.

If you need help or materials, Ottawa has many stores. You can find local hardware stores that sell stains and varnishes. They can also help you choose the right products. Some popular places include Home Depot and Rona.
If you want to hire someone to do the job, look for local painting services. Tubman Finishing is a great choice for quality work in Ottawa. They have experience and can help you choose the best colours and finishes.
Staining and varnishing wood can change your home’s look. It protects and beautifies your wood. With the right tools, preparation, and patience, you can achieve stunning results. Whether you are working on furniture, cabinets, or floors, the process is rewarding. So gather your supplies, follow the steps, and enjoy your beautiful wood!
Remember, the key to a great finish is all in the details. Take your time and enjoy the process. Your home in Ottawa deserves it!